Why Cold Email Infrastructure Matters More Than AI Writing
We hear this scenario all the time: "I signed up for an AI cold email tool, wrote the perfect sequence, sent 500 emails, and almost all of them went to spam. What went wrong?"
The answer isn't in the writing—it's in the infrastructure layer.
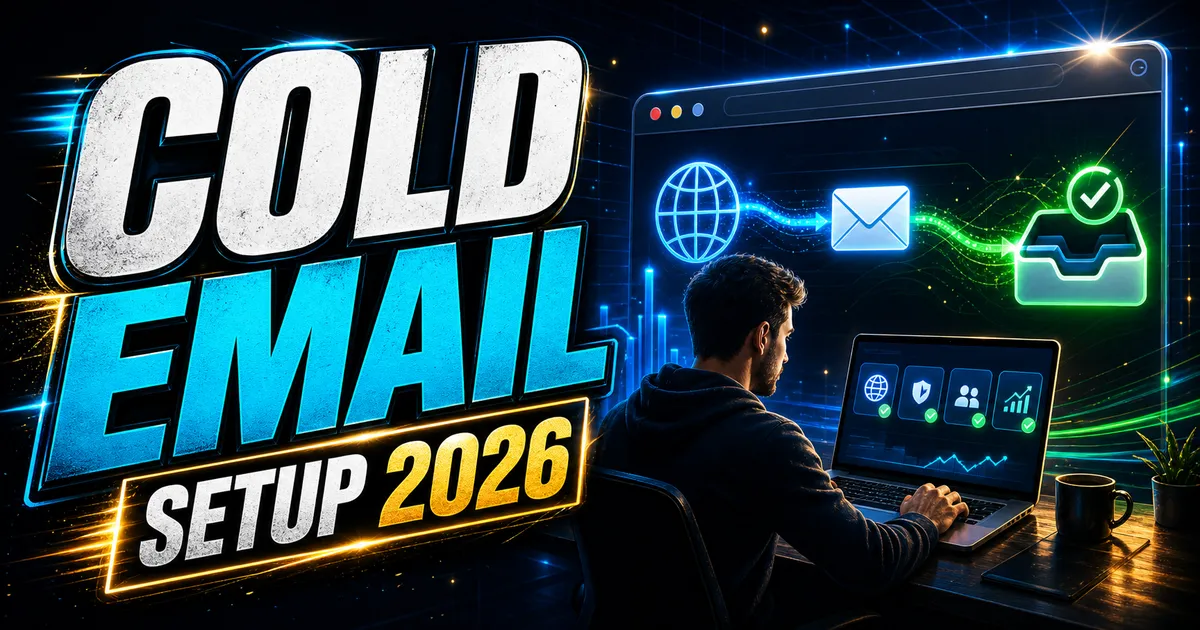
Cold email in 2026 is a systems engineering challenge. AI can help you craft precise, persuasive copy, but whether your email reaches the inbox depends on domain reputation, DNS configuration, warm-up, and inbox rotation. If your infrastructure is flawed, your AI-generated content will never reach human eyes.
This guide covers the entire process from scratch—from buying your first domain to launching your first cold email campaign.
How Do Email Providers Determine Spam?
Gmail, Outlook, and Yahoo use hundreds of signals to decide between the inbox and the spam folder. Here are the most critical ones for 2026:
| Signal | Weight | What it measures |
|---|---|---|
| Sending Reputation | Critical | Ratio of spam reports vs. engagement |
| Domain Age & History | High | New domains sending high volumes are suspicious |
| Authentication (SPF, DKIM, DMARC) | High | Proves domain ownership and prevents spoofing |
| Gradual Volume Ramp-up | Med-High | Jumping from 0 to 500/day triggers rate limits |
| Reply Rate | High | Replies = positive engagement; Zero replies = spam signal |
| Bounce Rate | High | <3% is healthy; >5% severely damages reputation |
AI writing tools directly influence only one of these signals (reply rate, indirectly). The rest are infrastructure issues. Don't rush to optimize your copy—build your foundation first.
Step 1: Choose Sending Domains—Never Use Your Main Domain
Never use your primary business domain for cold outreach. A failed campaign can permanently damage your main domain's email reputation. Repairing a damaged domain is significantly harder than registering a new one.
Domain Strategy
- Register variant domains: If your main domain is
yourbrand.com, registeryourbrandmail.comorgetyourbrand.com. - Assign domains to specific purposes: one for cold outreach, one for customer success, one for partnerships.
- Domain age matters: Do not send high volumes for the first 2–4 weeks; prioritize warm-up.
Costs
A .com domain costs about $10–$15/year. We recommend starting with at least 3 sending domains to spread the risk. If you send over 5,000 emails per month, increase this to 5+. In the world of cold email, domains are the cheapest insurance policy you can buy.
Step 2: Configure Email Authentication—SPF, DKIM, DMARC
DNS authentication is not optional. Without correct records, Gmail and Outlook will reject your emails or mark them as spam. You must configure all three protocols:
SPF (Sender Policy Framework)
Tells receiving servers "which IPs are authorized to send email on behalf of this domain."
Record Type: TXTHost: @Value: v=spf1 include:spf.your-esp.com -all-all means "reject all unauthorized sources," which is the strictest (and safest) policy. If your email provider has a fixed IP list, use include to add them one by one.
Common mistake: Having multiple SPF records. A domain can only have one. If you use both an email tool and a marketing tool, merge them into a single record.
DKIM (DomainKeys Identified Mail)
Uses a digital signature to prove the email content hasn't been tampered with in transit. Your email provider generates a key pair; you add the public key to your DNS.
Record Type: TXTHost: [selectorname]._domainkeyValue: v=DKIM1; k=rsa; p=[your-public-key]Once configured, verify your signature using DKIMValidator.
DMARC (Domain-based Message Authentication, Reporting & Conformance)
Tells receiving servers what to do if SPF/DKIM checks fail.
Record Type: TXTHost: _dmarcValue: v=DMARC1; p=quarantine; rua=mailto:[email protected]Start with p=quarantine (sends suspicious emails to spam). Once you confirm data is clean, upgrade to p=reject. The rua address receives daily DMARC summary reports—essential for monitoring authentication failures and domain abuse.
The Triple Verification
After configuration, verify each record using MXToolbox or Google Admin Toolbox's Check MX. You need all three to show green.
Step 3: Warm-up—Earning Trust from Email Providers
"Warm-up" means gradually increasing your sending volume to build trust with email providers. Jumping from zero to hundreds of emails per day is a guaranteed way to trigger security mechanisms.
Recommended Warm-up Schedule
| Week | Daily Volume | Action |
|---|---|---|
| Week 1 | 5–10 emails | Send to known contacts (colleagues, friends, test accounts) to ensure high open/reply rates |
| Week 2 | 15–25 emails | Start adding a small number of cold contacts; target <3% bounce rate |
| Week 3 | 30–50 emails | Increase to normal pace; if bounce rate rises, revert to previous week's volume |
| Week 4+ | 50+ emails/inbox | Reach target volume and maintain consistency |
Choosing Warm-up Tools
Most professional cold email platforms have built-in warm-up features. If yours doesn't, integrate a dedicated warm-up service. Choose one that supports natural conversational interaction (not just auto-opening/marking as not spam), as Google can detect robotic "fake-to-fake" interactions.
Key Metrics
Watch these three numbers closely during warm-up:
- Bounce Rate < 3%: If it exceeds this, lower your volume.
- Spam Complaint Rate < 0.1%: No more than 1 complaint per 1,000 emails.
- Open Rate > 40%: If open rates are low during warm-up, check your domain or authentication settings.
Step 4: Inbox Rotation—Breaking Daily Sending Limits
A single inbox (e.g., [email protected]) has a daily sending limit of about 30–50 emails. Exceeding this will tank your reputation. Inbox rotation distributes your volume across multiple accounts.
Rotation Architecture
Domain: yourbrandmail.com├── Inbox 1: [email protected] → 40/day├── Inbox 2: [email protected] → 40/day├── Inbox 3: [email protected] → 40/day└── Inbox 4: [email protected] → 40/dayTotal: 160 emails/dayCalculating Inbox Needs
Target monthly volume ÷ 30 ÷ 40 = Number of inboxes needed.
Example: 6,000 emails/month → 6,000 ÷ 30 ÷ 40 ≈ 5 inboxes needed.
Configuration Tips
- Use the same SPF/DKIM/DMARC configuration for all inboxes.
- Enable email forwarding so all replies aggregate into your main work inbox.
- Use consistent profile pictures and signatures to build brand recognition.
If your cold email tool supports it, use a combination of multi-domain rotation + multi-inbox rotation for better results. Refer to our AI cold email tool selection guide to find the best fit for your scale.
Step 5: Integrating the AI Writing Layer
Once the infrastructure is ready, add AI writing. The optimal approach is AI drafting + a dedicated cold email platform.
The Core Role of AI Drafting
- Personalization Variables: Generate unique opening lines based on industry, job title, and company news.
- A/B Variant Generation: One topic → 3 versions → test which gets the highest open rate.
- Follow-up Optimization: Automatically adjust follow-up strategies based on recipient behavior (opened but didn't reply / didn't open / clicked link).
For a detailed tool comparison, see our complete review of AI email writing tools.
The Human Gatekeeper Principle
AI-generated content should always be reviewed by a human before sending:
- Does each personalization variable look natural, not like a template?
- Is the tone consistent with your brand?
- Are there any off-topic or awkward expressions?
AI is an accelerator, not an autopilot. Infrastructure + AI drafting + human review = the "Iron Triangle" of high-quality cold email.
Step 6: Ongoing Monitoring—Infrastructure is Not a One-Time Task
Monitor these metrics at least weekly:
Inbox Placement Testing
Use an independent deliverability testing tool (e.g., GlockApps, Mail-tester) at least once a month to confirm your emails are hitting the primary inbox in Gmail/Outlook/Yahoo. If this is below 85%, check your authentication and reputation immediately.
Domain Reputation Monitoring
Monitor your reputation just like a credit score—not knowing your score is the biggest risk. Use Google Postmaster Tools (free, for Gmail recipients) and Sender Score (free version by Return Path).
Blacklist Checks
Use MXToolbox weekly to check if your sending IPs or domains are on blacklists like Spamhaus or Barracuda. Being blacklisted isn't always fatal, but you must investigate the cause and request removal immediately.
Core Metrics Checklist
Spend 15 minutes every Friday checking these numbers:
| Metric | Healthy Range | If Exceeded |
|---|---|---|
| Bounce Rate | < 3% | Pause sending → Clean list → Lower volume |
| Spam Complaint Rate | < 0.1% | Check content quality → Lower frequency → Prioritize engaged users |
| Open Rate | > 30% | Optimize subject lines → Check send time → A/B test |
| Reply Rate | > 3% | Check content quality → Improve personalization |
| Inbox Placement Rate | > 90% | Check authentication → Check domain reputation → Lower volume |
Summary: The 2026 Standard for Cold Email Infrastructure
AI writing is just the "front-end." Without the infrastructure—domains, authentication, warm-up, and inbox rotation—your AI copy won't get delivered.
2026 Standard Checklist:
- ✅ 3+ independent sending domains (not your main domain)
- ✅ SPF + DKIM + DMARC all passing (non-negotiable)
- ✅ 4-week gradual warm-up plan (starting at 5 emails/day)
- ✅ Multi-inbox rotation (≤ 50 emails/day per inbox)
- ✅ AI drafting + human review workflow (not fully automated)
- ✅ Weekly metrics audit (bounce rate, complaints, open/reply rates, placement)
Build your infrastructure first, and your AI writing will actually deliver results. Skip the infrastructure, and even the best copy is a waste of time.
If you are just starting your cold email system, we recommend choosing a platform from our AI cold email tool rankings, then following the steps in this guide to configure each setting. Most platforms also provide official guides on domain selection and DNS configuration.